PRO Water Chiller

Setup Manual

Banner Image
Banner Image

Step 1

Review Safety Instructions

Step 2

Plug in the Chiler To Socket By Itself

Step 3

Pair your Chiller with your Mobile Device

Step 4

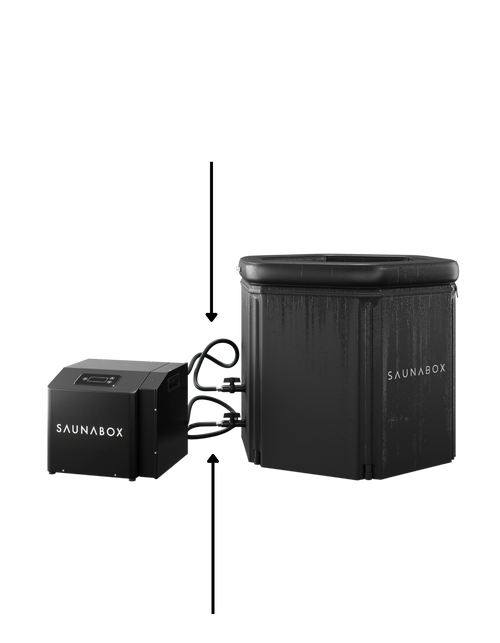
Connect tubing from the plunge to the chiller unit. ensure the upper outlet on the chiller connects to the upper valve on the plunge. The lower outlet on the chiller will connect to the lower valve on the plunge.

Step 5

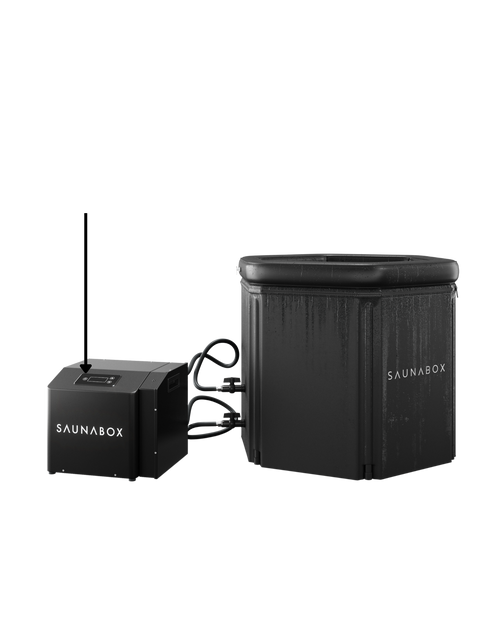
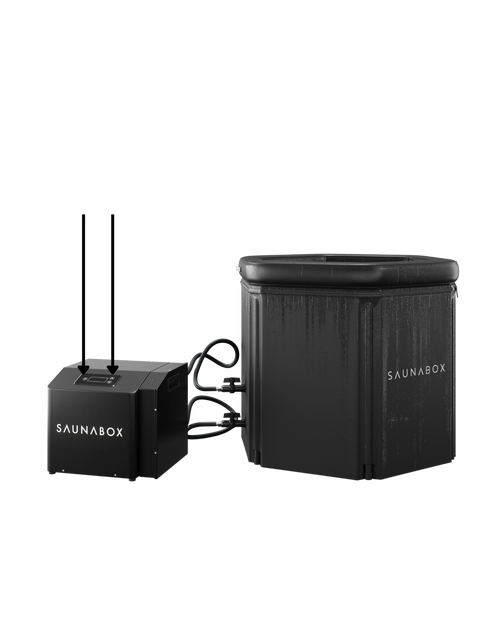
hold the 'power button' on the display screen. Turning on will display the temperature of the water in the Cold Plunge.

Step 6

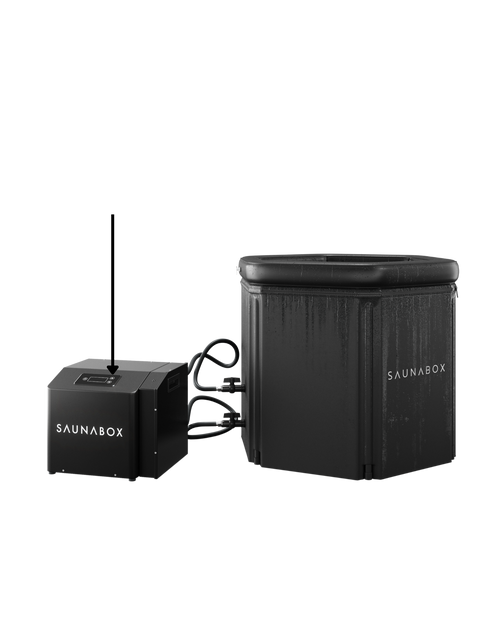
To adjust the temperature of the water utilize the 'up' or 'down' arrows on the right side of the display screen.

Step 7

Our chiller unit will automatically lock after 30 seconds to the adjusted temperature. To unlock the chiller unit, simultaneously press the 'power button' and 'down arrow for 3 seconds.

Step 8

Press and hold the 'up' and 'down' arrows for 5 seconds to display the temperature differential; F1. Whatever value F1 is set to will be when the chiller unit actively keeps the Cold Plunge at/near your desired temperature

Step 9

Press and hold the 'up' and 'down' arrows for 5 seconds to display the temperature differential; F1. Whatever value F1 is set to will be when the chiller unit actively keeps the Cold Plunge at/near your desired temperature

Step 10

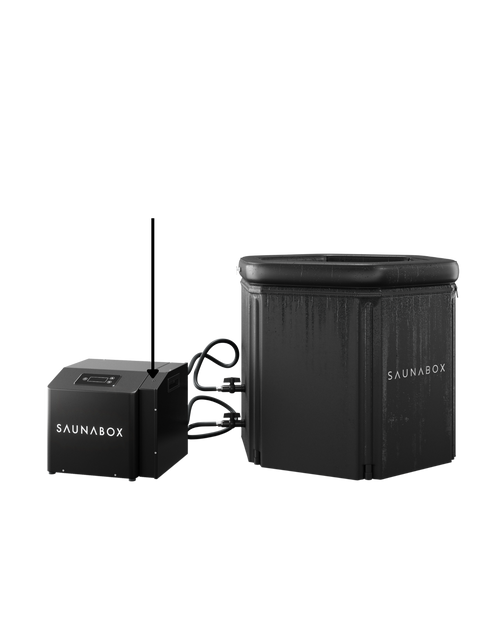
O-zone filtration needs to be manually turns on which can be found on the right corner of the chiller unit. It is recommended to be turned on for 1 hour at a time, 4 times per day.

Any Questions?

Need more help? Contact our top rated support team and we'll help you out.